Intro
Because app’s are being used almost everywhere, I decided to make my own tutorial on how to control my board using App. Some time ago, I found a very interesting app platform, ‘Blynk’. But Blynk platform supports only specified devices(like arduino series), so I’ve porting Blynk library for arduino to my WIZnet W5500-EVB board.
I’ve posted at Instructables.
http://www.instructables.com/id/WIZnet-W5500-EVB-and-Blynk-App-communication/
About W5500-EVB
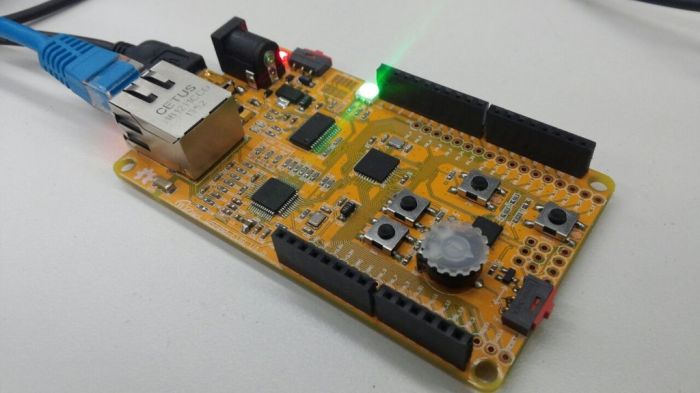
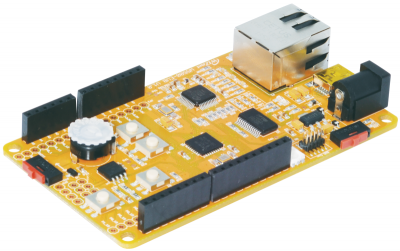
W5500-EVB is an evaluation board for W5500 chip based on the 32-bit ARM® Cortex™-M0 microcontroller. It is the easy way to develop internet connection for efficient and small embedded systems using W5500, WIZnet’s hardwired TCP/IP embedded Ethernet controller.
For more details, refer to the WIZnet Wiki site; W5500-EVB
http://wizwiki.net/wiki/doku.php?id=products:w5500:w5500_evb:start
Features
WIZnet W5500 Hardwired TCP/IP chip
- Hardwired TCP/IP embedded Ethernet controller
- SPI (Serial Peripheral Interface) Microcontroller Interface
- 32kB internal Tx/Rx socket buffer memory
- Hardwired TCP/IP stack supports TCP, UDP, IPv4, ICMP, ARP, IGMP, and PPPoE protocols
NXP LPC11E36/501 MCU (LPC11E36FHN33)
- 32-bit ARM® Cortex™-M0 microcontroller running at up to 50MHz
- 96kB on-chip flash program memory
- 12kB on-chip SRAM data memory
- 4kB on-chip EEPROM data memory
- 1 x UART, 1 x I2C, 2 x SPI/SSP, 8 x 10-bit ADC, 4 x Timer (16, 32-bit), 11 x PWM
Microchip TC1047A (Temperature-to-Voltage Converter)
- On-board Temperature sensor
- Supply Voltage Range: 2.7V to 4.4V
- Wide Temperature Measurement Range: -40 to +125 celsius degrees
Connectors
- Pin-compatible with Arduino Shields designed for the UNO Rev3
- 5V DC power supply and +5V/500mA from power supply USB connector
- 10/100Mbps Ethernet (RJ-45 with transformer)
- ARM standard debug connector: 10-pin Cortex debug connector for SWD (Serial Wire Debug)
About Blynk
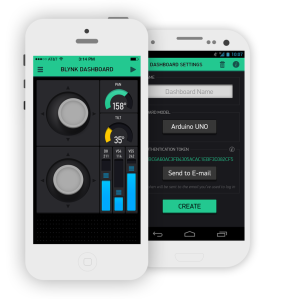
Blynk – build an app for your Arduino project in 5 minutes
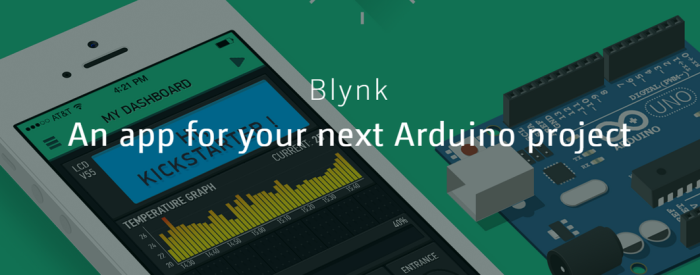
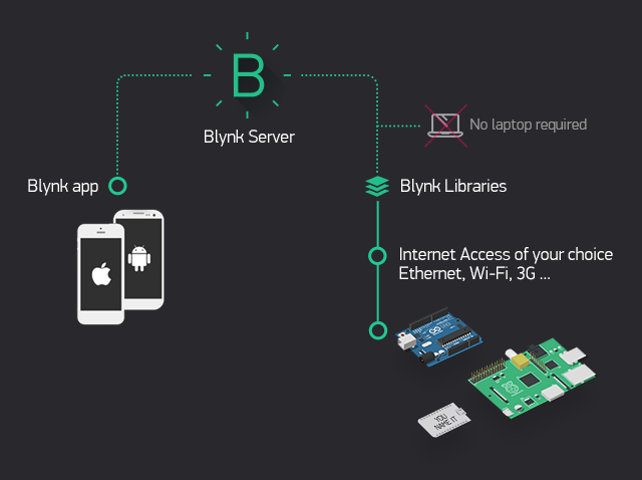
Imagine a prototyping board on your smartphone where you drag and drop buttons, sliders, displays, graphs and other functional widgets. And in a matter of minutes these widgets can control Arduino and get data from it.
For more details, please refer to the Blynk official website, http://www.blynk.cc/
Step 1: Parts
Android Mobile Phone or iPhone
- Blynk platform provides both two Apps; Google Android App and Apple iOS app
Blynk App for your phone
- Download link: http://www.blynk.cc/getting-started/
WIZnet W5500-EVB board
- Ethernet (W5500 Hardwired TCP/IP chip) and 32-bit ARM® Cortex™-M0 (NXP) based designd evaluation board
- Arduino Pin-compatible (Arduino Shield available)
A computer NXP LPCXpresso IDE installed
- Free Activation needed (Free Edition supports code sizes up to 256 kB after activation)
- LPCXpresso IDE Install and Activation Guide: http://wizwiki.net/wiki/doku.php?id=osh:lpcxpresso:start
- http://www.lpcware.com/lpcxpresso
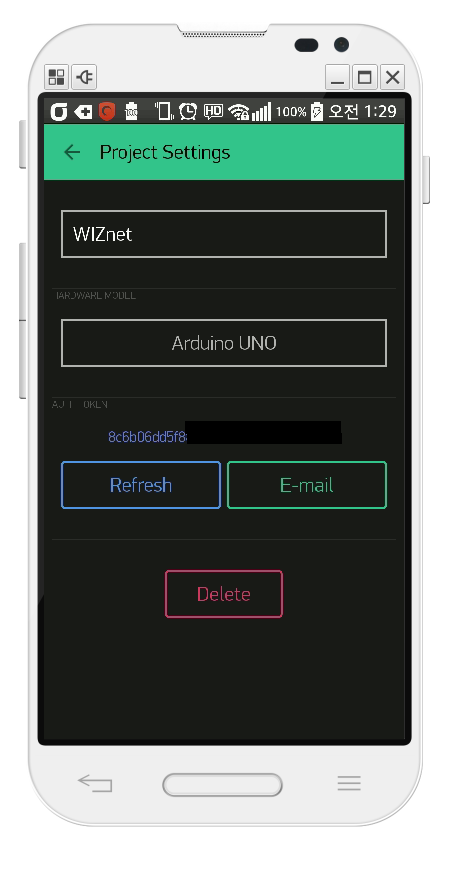
Step 2: Download Blynk App and Get the Auth key Token in the App
You can download Blynk App from http://www.blynk.cc/getting-started/
Step 3: Download Simple Blynk Library for W5500-EVB
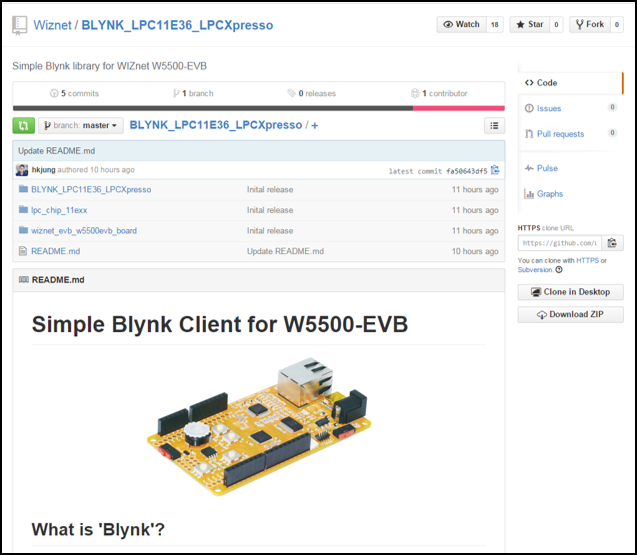
Firmware source code project released on GitHub repository.
https://github.com/Wiznet/BLYNK_LPC11E36_LPCXpresso
Step 4: Set your App’s Auth key to the source code
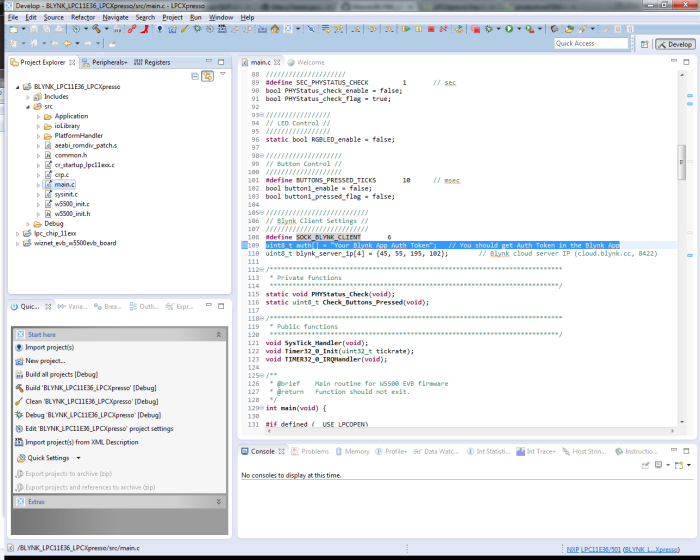
Set your App’s Auth key to the source code – array Auth[] in main.c (32 bytes)
Step 5: Build the Project and program to W5500-EVB
This project based on NXP LPCXpresso IDE. Project Import to IDE, build and program to W5500-EVB. Refer to NXP MCU Flash programming guide:
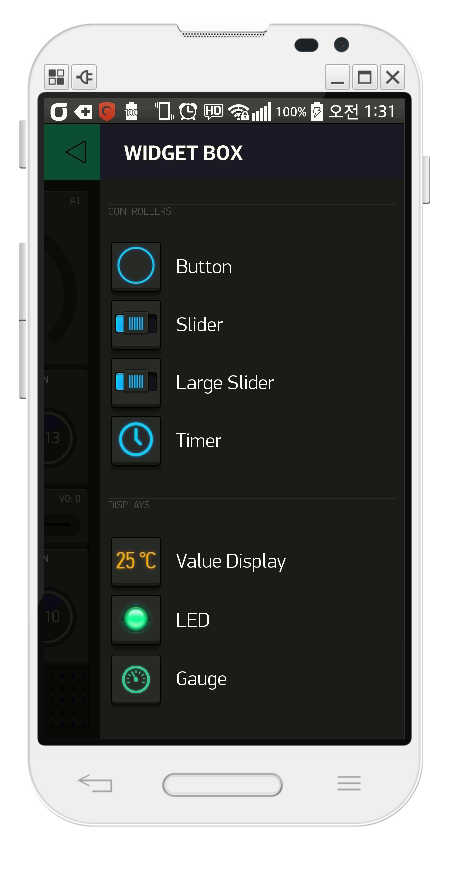
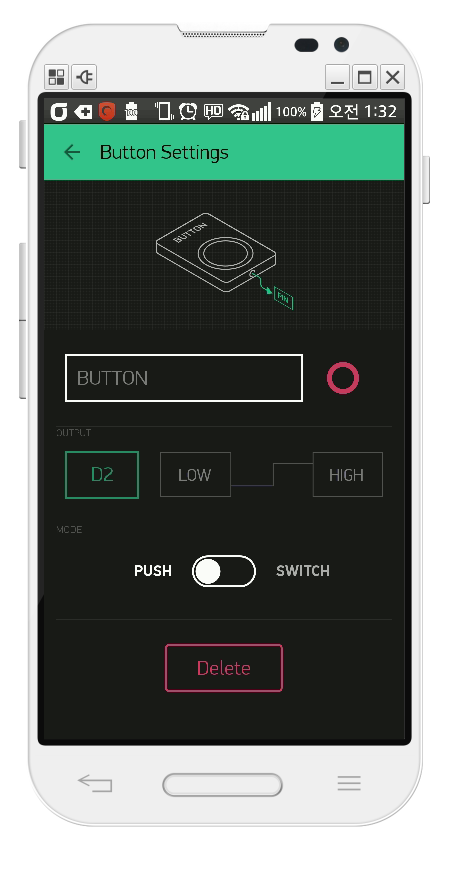
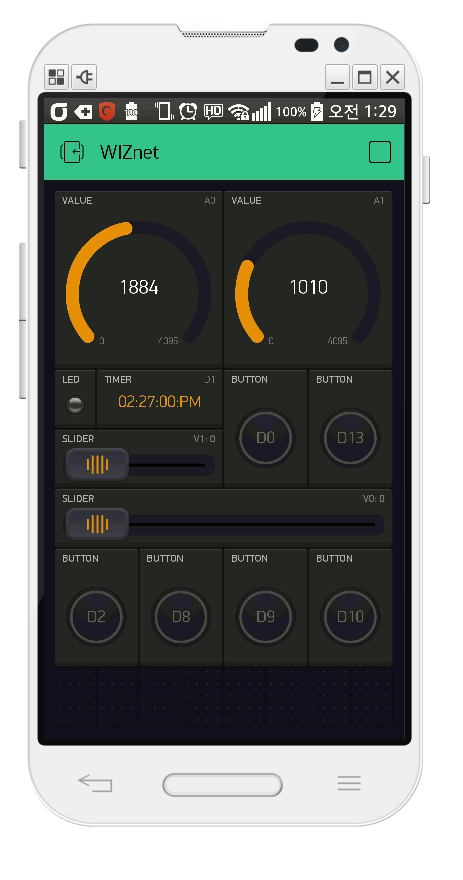
Step 6: Open Blynk app and Add widgets reffering to W5500-EVB Pinmap
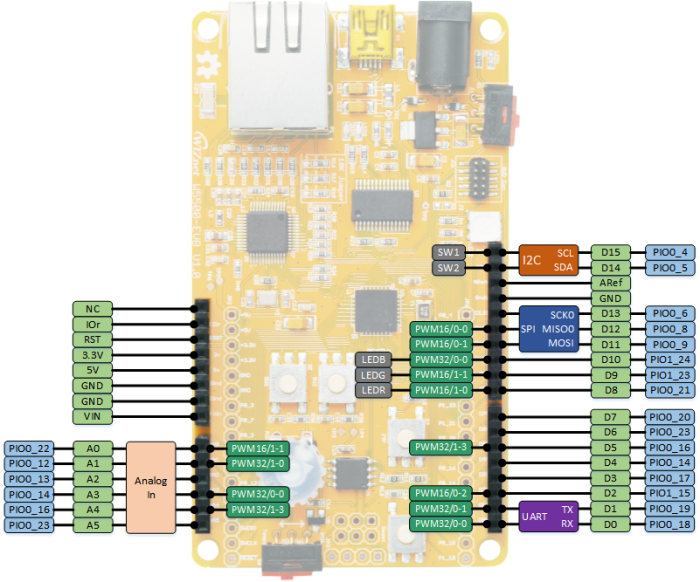
Select the Hardware in Blynk app to Arduino UNO. W5500-EVB is the Arduino pin-compatible board, It’s possible to use pin ‘D0 ~ D15’ and ‘A0 ~ A5’
So, please check the W5500-EVB Pinmap and then use the board.
Step 7: Run!
Enjoy it. Make your own remote controlled / monitor device using W5500-EVB and Blynk.
Note
- You have to use this example with (1) DHCP client code and Router(DHCP server) or (2) Public IP address.
